Classic pins are one of the good things in life. Sadly, they wear down and eventually become unplayable.
The only thing that allows the fun and magic to continue are people willing to do the hard work of fixing them.
Outside Edge would like to recognize and celebrate Hardtop Heroes. These are good people around the world who are using loads of time, talent, and Hardtops to ensure old pins will find new fans. Because of you, these classic games will be played for many years to come.
Thank you for your support, and for bringing these pins back to life!
|

|
A Pirate's Life Pinball
Keith has been a major force in the testing and promotion of Hardtops.
https://www.facebook.com/pirateslifepinball/
Thanks Keith, for saving this Pharoah and Wizard (and many others)!
https://www.facebook.com/pirateslifepinball/
Thanks Keith, for saving this Pharoah and Wizard (and many others)!
0:00 - introduction
1:04 - playfield prep
3:48 - Hardtop installation
9:18 - dealing with rollovers
11:54 - before and after
1:04 - playfield prep
3:48 - Hardtop installation
9:18 - dealing with rollovers
11:54 - before and after
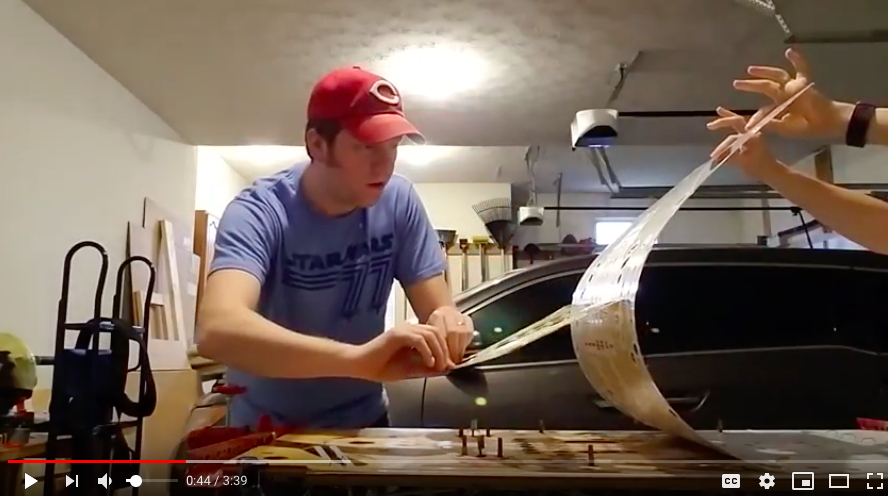
The Pirate's technique for Rollovers (using Wizard as an example)
Pinball Workshop
Thanks Adam, for saving this Space Shuttle!
Click below to watch Adam save a Space Shuttle with a Hardtop.
Adam's Space Shuttle Hardtop installation - 1 of 12 - introduction and Hardtop overview
Adam's Space Shuttle Hardtop installation - 2 of 12 - removing old thin decal sticker
Adam's Space Shuttle Hardtop installation - 3 of 12 - teardown details re: rails, targets, pop bumpers
Adam's Space Shuttle Hardtop installation - 4 of 12 - decal removed, ready for sanding inserts
Adam's Space Shuttle Hardtop installation - 5 of 12 - inserts mostly sanded
Adam's Space Shuttle Hardtop installation - 6 of 12 - inserts sanded, adding clear spray to inserts
Adam's Space Shuttle Hardtop installation - 7 of 12 - clear spray on inserts is done
Adam's Space Shuttle Hardtop installation - 8 of 12 - checking alignment
Adam's Space Shuttle Hardtop installation - 9 of 12 - installing the first half
Adam's Space Shuttle Hardtop installation - 10 of 12 - installing the second half
Adam's Space Shuttle Hardtop installation - 11 of 12 - removing the protective liner
Adam's Space Shuttle Hardtop installation - 12 of 12 - the finished Space Shuttle!
TNT Amusements
Thanks Todd & Team, for saving this Comet!
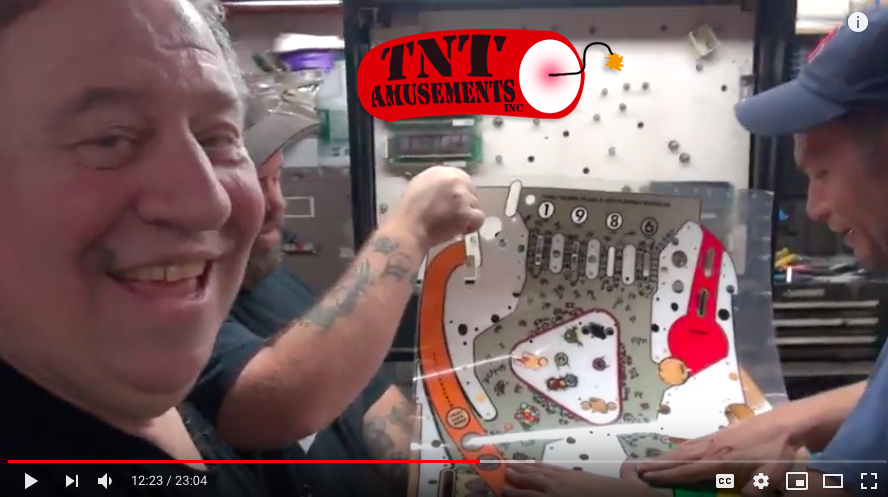
Click to watch Todd, Steve, and the team save a Comet with a Hardtop
00:00 - Todd shows the worn Comet playfield
04:35 - Steve sanding to prep the jewels
07:22 - Everything lines up! Time to peel and stick.
15:13 - Reassembly in progress
16:46 - Todd and the finished Comet!
19:01 - Todd and Steve sum up
00:00 - Todd shows the worn Comet playfield
04:35 - Steve sanding to prep the jewels
07:22 - Everything lines up! Time to peel and stick.
15:13 - Reassembly in progress
16:46 - Todd and the finished Comet!
19:01 - Todd and Steve sum up
Fred Gagliardi
"Just finished my Taxi, absolutely incredible product!! Highly recommend them."
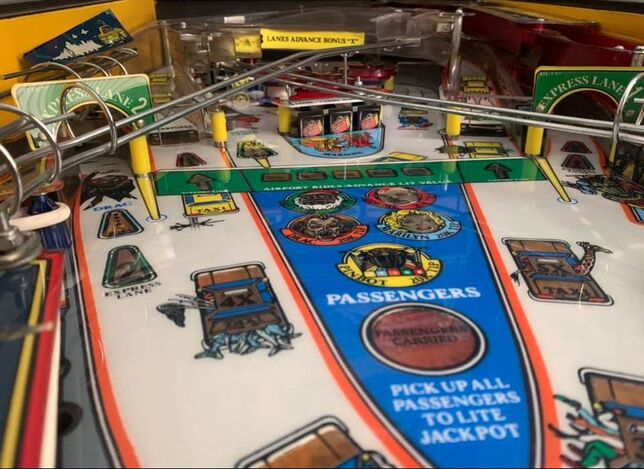
Thanks Fred, for saving this Taxi!
Thanks Fred, for saving this Taxi!
Pascal Poulain
Thanks Pascal, for saving this Comet!
Cary Hardy
Thanks Cary, for saving this Black Knight!
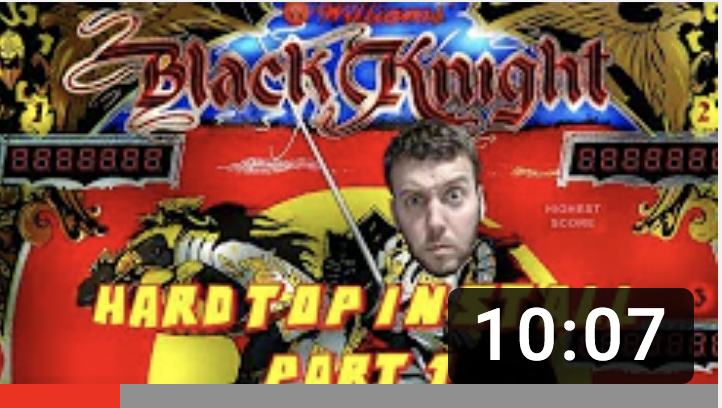
Click below to watch Cary's 4-part series.
How To Install A Hardtop For Black Knight Pinball Machine: Part 1
How To Install A Hardtop For Black Knight Pinball Machine: Part2
How To Install A Hardtop For Black Knight Pinball Machine: Part 3
How To Install A Hardtop For Black Knight Pinball Machine: Part 4
How To Install A Hardtop For Black Knight Pinball Machine: Part 1
How To Install A Hardtop For Black Knight Pinball Machine: Part2
How To Install A Hardtop For Black Knight Pinball Machine: Part 3
How To Install A Hardtop For Black Knight Pinball Machine: Part 4
HurryUpPinball
Thanks for saving this Pinbot!
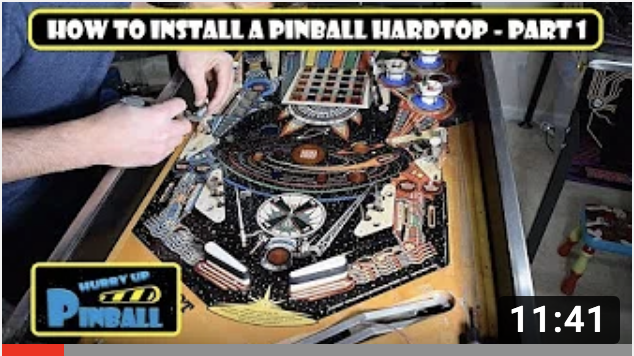
Click below to watch the excellent 3-part series.
HurryUpPinball - How to Install a Pinball Hardtop - Part 1
HurryUpPinball - How to Install a Pinball Hardtop - Part 2
HurryUpPinball - How to Install a Pinball Hardtop - Part 3
HurryUpPinball - How to Install a Pinball Hardtop - Part 1
HurryUpPinball - How to Install a Pinball Hardtop - Part 2
HurryUpPinball - How to Install a Pinball Hardtop - Part 3
Justin McKune
"Excellent product! Brought my Taxi back to life!"
Thanks Justin, for saving this Taxi!
Thanks Justin, for saving this Taxi!
Chad Wedlake
"Just finished my Firepower rebuild last night!! The hardtop makes a world of difference!!!"
Thanks Chad, for saving this pin!
Thanks Chad, for saving this pin!